How to Remove Acrylic Nails at Home safely and effectively without damaging your natural nails. This step-by-step guide covers essential precautions, tools you’ll need, gentle removal methods, and aftercare tips to keep your nails healthy.
Acrylic nails can be a stunning addition to any look, offering length, strength, and style that natural nails sometimes can’t provide. But what happens when you’re ready for a change—or when your acrylics start lifting, breaking, or simply feel heavy? While salons are the go-to for professional removal, many people prefer the convenience of removing acrylic nails at home.
If you’ve ever wondered how to remove acrylic nails at home safely, you’re in the right place. This guide will walk you through precautions, tools, techniques, and aftercare tips to ensure your natural nails stay healthy.
Precautions Before Removing Acrylic Nails

Before diving into removal, it’s important to prioritize your nail health. How to Remove Acrylic Nails at Home are glued onto your natural nails, which makes improper removal risky. Here are some key precautions:
-
Avoid pulling or peeling: Tugging on acrylics can strip layers of your natural nails, leaving them thin, weak, or damaged.
-
Protect surrounding skin: Use petroleum jelly on your cuticles to prevent irritation from acetone or other chemicals.
-
Be patient: Rushing the process can cause pain or long-term nail damage.
-
Ensure good ventilation: Acetone fumes can be strong, so remove nails in a well-ventilated area.
-
Check nail health: If your nails are brittle, infected, or injured, consult a professional before attempting home removal.
How to Remove Acrylic Nails at Home By following these precautions, you set the stage for a safe and effective acrylic nail removal process.
Tools and Materials Needed
How to Remove Acrylic Nails at Home safely, having the right tools is essential. Here’s a list of what you’ll need:
-
Pure acetone: The most effective chemical for dissolving acrylics.
-
Nail file and buffer: Helps thin down the acrylic before soaking.
-
Cotton balls or pads: Used to apply acetone to the nails.
-
Aluminum foil: Wraps around acetone-soaked cotton for prolonged contact.
-
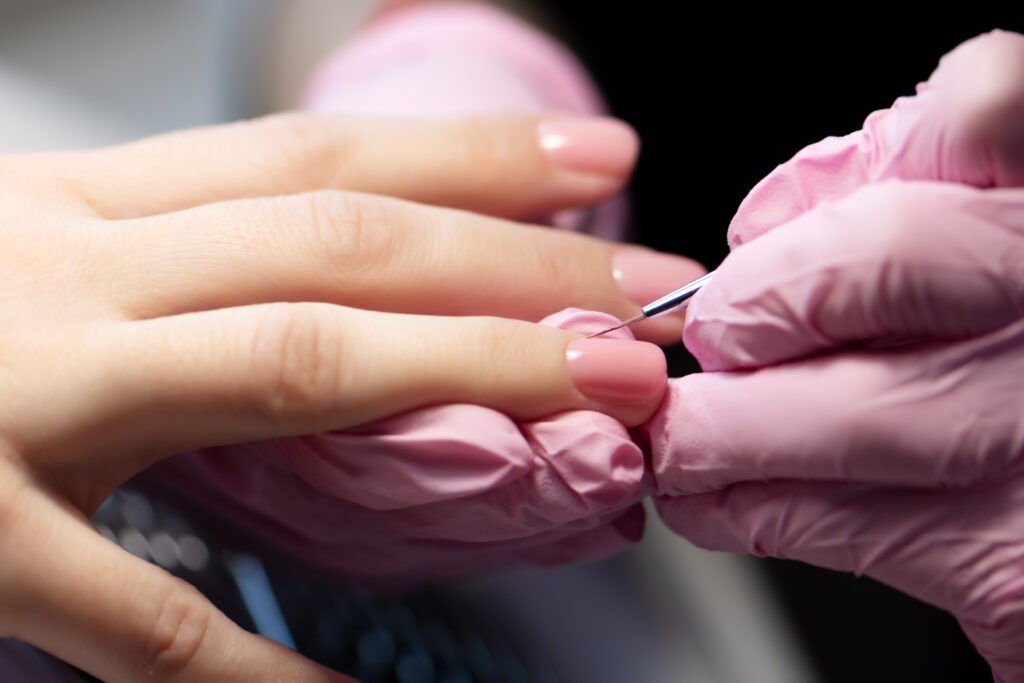
Cuticle pusher or orangewood stick: For gentle scraping.
-
Bowl (optional): For soaking nails in acetone.
-
Moisturizer or cuticle oil: Essential for aftercare to prevent dryness.
Having all materials on hand makes the removal process smoother, safer, and more efficient.
Step-by-Step Methods to Remove Acrylic Nails at Home
There are multiple ways How to Remove Acrylic Nails at Home, ranging from traditional soaking to gentler alternatives.
1. Soaking Method (Most Common)
Step 1: File the top layer
-
Use a coarse nail file to gently buff off the shiny topcoat of the acrylic. This helps acetone penetrate faster.
Step 2: Apply acetone
-
Soak a cotton ball in acetone and place it directly on the nail. Wrap the fingertip in aluminum foil to secure it.
Step 3: Wait patiently
-
Allow your nails to soak for 20–30 minutes. Check periodically to see if the acrylic is soft enough to slide off.
Step 4: Remove softened acrylic
-
Gently push off the softened acrylic with a cuticle pusher or orangewood stick. Never force it—if it resists, soak a bit longer.
2. Bowl Soak Method (Alternative Approach)
-
Fill a small bowl with acetone and submerge your nails for 15–20 minutes.
-
Follow the same steps of gentle scraping and filing to remove the softened acrylic.
3. Gentle Filing for Minimal Damage
-
If you’re cautious about acetone exposure, you can file down acrylics gradually.
-
Start with a coarse file and switch to a finer grit as you near your natural nail.
-
This method is slower but reduces chemical exposure.
4. Using Non-Acetone Removers (Optional)
-
Some specialty removers are available for sensitive nails.
-
These are generally less harsh but require longer soaking times and extra patience.
Tips for a Smoother Removal

How to Remove Acrylic Nails at Home can be straightforward if you follow these helpful tips:
-
Work on one hand at a time: This reduces mistakes and allows better focus.
-
Be gentle: Let the acetone do the work rather than forcefully scraping the acrylic.
-
Keep nails moisturized: Dry nails are more prone to damage.
-
Use a fine buffer: After removal, buff nails lightly to remove leftover residue.
-
Avoid harsh chemicals afterward: Skip nail polish or harsh cleaners for a day or two to let nails recover.
Following these tips can make the removal process less stressful and prevent nail trauma.
Aftercare for Natural Nails
After your acrylic nails are off, your natural nails may feel thin, dry, or brittle. Proper aftercare is key for maintaining healthy nails and avoiding infections.
-
Moisturize daily: Apply cuticle oil or hand cream to keep nails hydrated.
-
Use strengthening treatments: Nail hardeners or biotin supplements can support regrowth.
-
Avoid immediate reapplication: Give your nails at least a week to recover before applying new acrylics or gel polish.
-
Trim and shape naturally: Keeping nails short and smooth reduces the risk of splitting.
-
Practice gentle home nail care: Avoid aggressive filing, biting, or picking at nails.
How to Remove Acrylic Nails at Home By committing to these aftercare habits, your nails will gradually regain strength and resilience, making future nail care safer and more enjoyable.
Final Thoughts

Learning how to remove acrylic nails at home safely doesn’t have to be intimidating. By taking precautions, using the right tools, following step-by-step methods, and practicing good aftercare, you can remove your acrylics without harming your natural nails.
How to Remove Acrylic Nails at Home you’re changing your style, giving your nails a break, or simply prefer home nail care, these tips help ensure a smooth and stress-free process.